A Step-by-Step Guide on How to Install an Electrical Juncton Box
Why Proper Junction Box Installation Matters?Here we will share a Step-by-Step Guide on how to install an electrical juncton box. Whether you’re setting up an outdoor power connection, solar system, or industrial control unit, installing an electrical junction box correctly is critical for safety and long-term performance.
A well-installed electrical junction box ensures:
Reliable protection from dust, water, and tampering
Clean and secure cable management
Easy access for future maintenance or upgrades
In this guide, we’ll walk through how to install a waterproof electrical junction box like the LeMotech 400×350×120mm IP65 enclosure, suitable for residential and commercial use.
What You’ll Need
Before getting started, prepare the following tools and components:
Electrical junction box (ABS or stainless steel, IP65/IP67 rated)
Mounting screws & wall anchors
Power drill and bits
Cable glands or waterproof fittings
Screwdriver
Marker or level
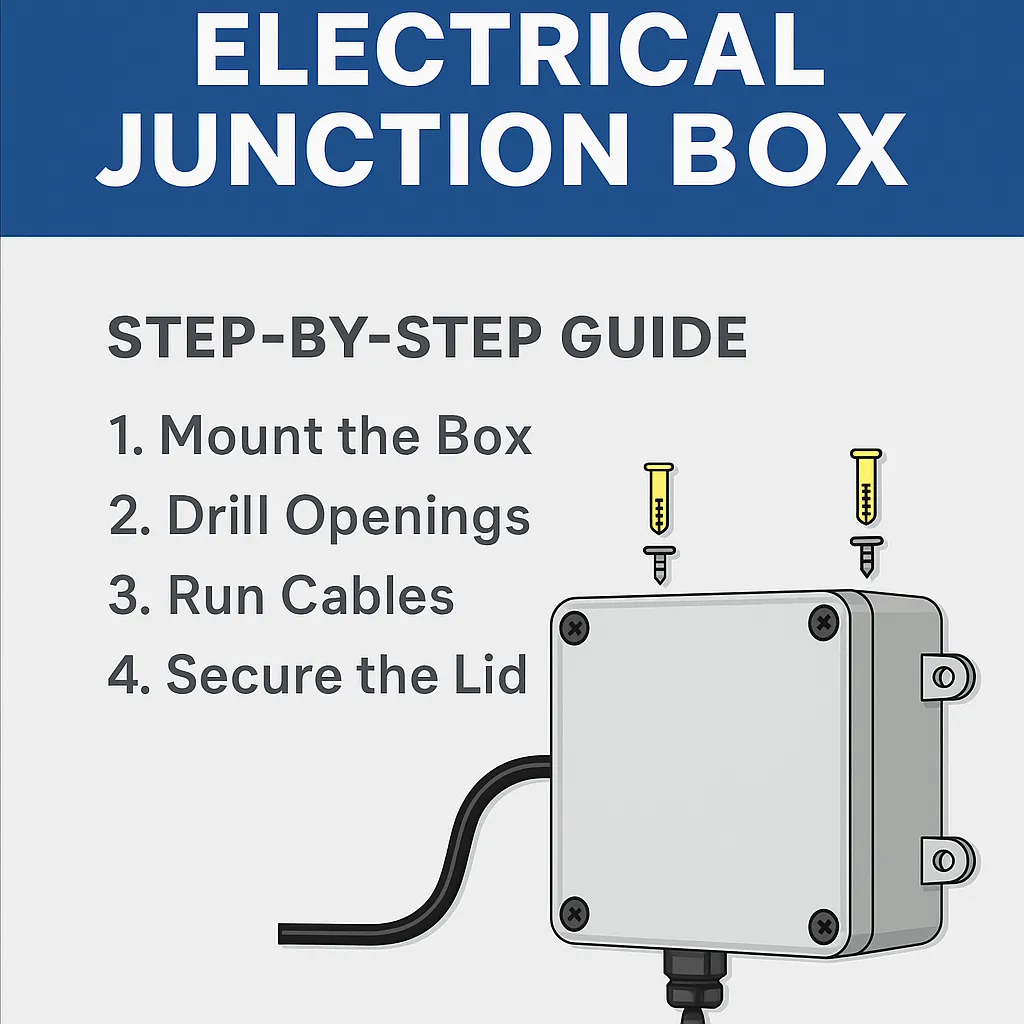
Step-by-Step Installation Instructions
- Plan the Mounting Location
Choose a flat surface away from direct flooding or continuous sun exposure. Mark drill holes using the pre-molded mounting ears. - Drill and Anchor
Use a power drill to make mounting holes. Insert plastic anchors if mounting on masonry or drywall. - Install the Enclosure
Align the LeMotech electrical junction box with the anchors and fasten it securely using stainless steel screws. - Drill Entry Points
Mark where cables will enter the box. Use a hole saw or step bit to drill holes, matching the diameter of your cable glands.
Tip: For outdoor use, always install IP-rated cable glands to maintain waterproof protection.
- Insert and Seal Cables
Feed wires through the glands and tighten to seal. Ensure a snug fit to prevent moisture ingress. - Make Electrical Connections
Use terminal blocks, DIN rails, or junction strips inside the enclosure for clean and safe wiring. - Close the Lid Securely
Place the gasket-lined lid on the box and tighten all screws evenly. Your junction box is now sealed and ready.
Recommended Product: LeMotech IP65 ABS Junction Box
If you’re looking for a durable, spacious enclosure for your next installation, the LeMotech 400×350×120mm ABS Electrical Junction Box is a reliable choice.
Weatherproof IP65-rated
Industrial ABS housing
Ideal for solar, smart home, and factory control systems
Available on Amazon → View Product
Final Tips for a Professional Installation
Use silicone sealant around screw holes for extra protection
Label wires for future identification
Avoid over-tightening cover screws to protect the gasket